There’s something about a dish that takes time and effort that makes the end result so much more satisfying. That’s exactly how I felt after making this mango sago, a dessert that quickly became a hit in my house, especially with the kids. Getting them to eat fruit is no easy feat unless I dress it up in something fun like this. But as much as I love this dessert, I won’t lie to you—it’s one of the most tedious recipes I’ve ever taken on. But let me tell you, it’s absolutely worth it!
Related: My Easy 15-Minute Feta Pockets
Ingredients:
- 2 large mango (plus more for topping)
- 60g tapioca starch (plus more for coating)
- 1 packet of mango-flavored jelly
- 1/2 cup tapioca pearls
- Yellow food coloring (optional)
- 1 can full-fat coconut milk
- 1/4 cup condensed milk
Making the Mango-Flavored Boba
Let’s start with the most time-consuming part of this recipe—making the mango-flavored boba. If you’re short on time or just want a simpler version of mango sago, you can skip this step and go with just the mango jelly, tapioca pearls, and fruit. But since my kids are all about boba, I decided to go all in.
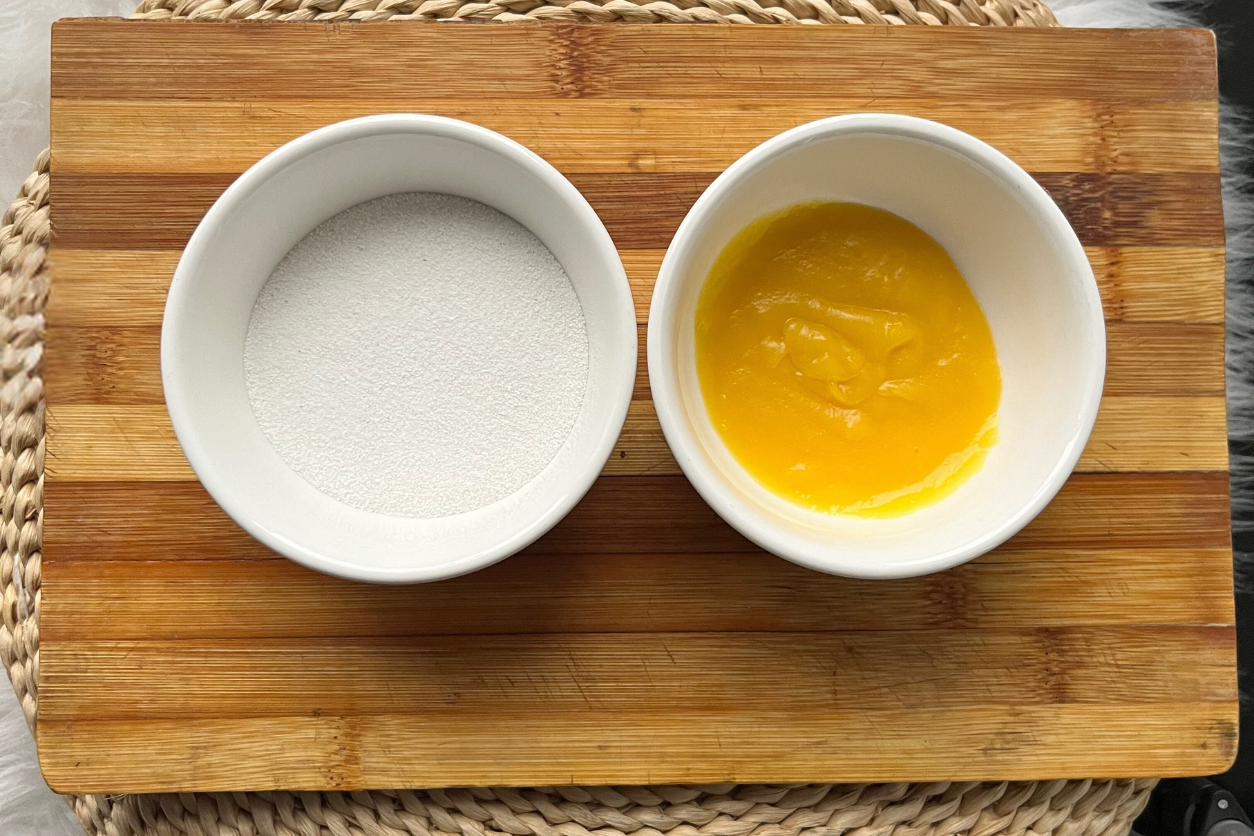
First, chop up a large mango and blend it into a smooth puree. You’ll need this puree not just for the boba but also to mix with the boba after they’re cooked to prevent them from sticking together. Once you’ve got your puree, cook it on medium heat for about 5 minutes until it thickens up a little. From this, measure out 50 grams of the puree to use for the boba dough, and set the rest aside.
For the boba dough, measure out 60 grams of tapioca starch. You’ll also want to have some extra starch on hand for coating the boba balls to keep them from sticking to each other. Start by mixing one heaping teaspoon of tapioca starch with the mango puree. Then, microwave this mixture for about 15 seconds—stop halfway to give it a stir before finishing the microwaving. This step is crucial as it helps create a thick, paste-like consistency that makes the dough easier to handle.
Now, mix the remaining tapioca starch into this paste to form a smooth dough. Divide the dough into four equal pieces and roll each one into a log. From these logs, cut out tiny cylinders that you’ll roll into boba balls. Here’s where it gets a bit tedious—the dough can start to dry out, making it harder to roll the balls. Just be patient and keep at it!
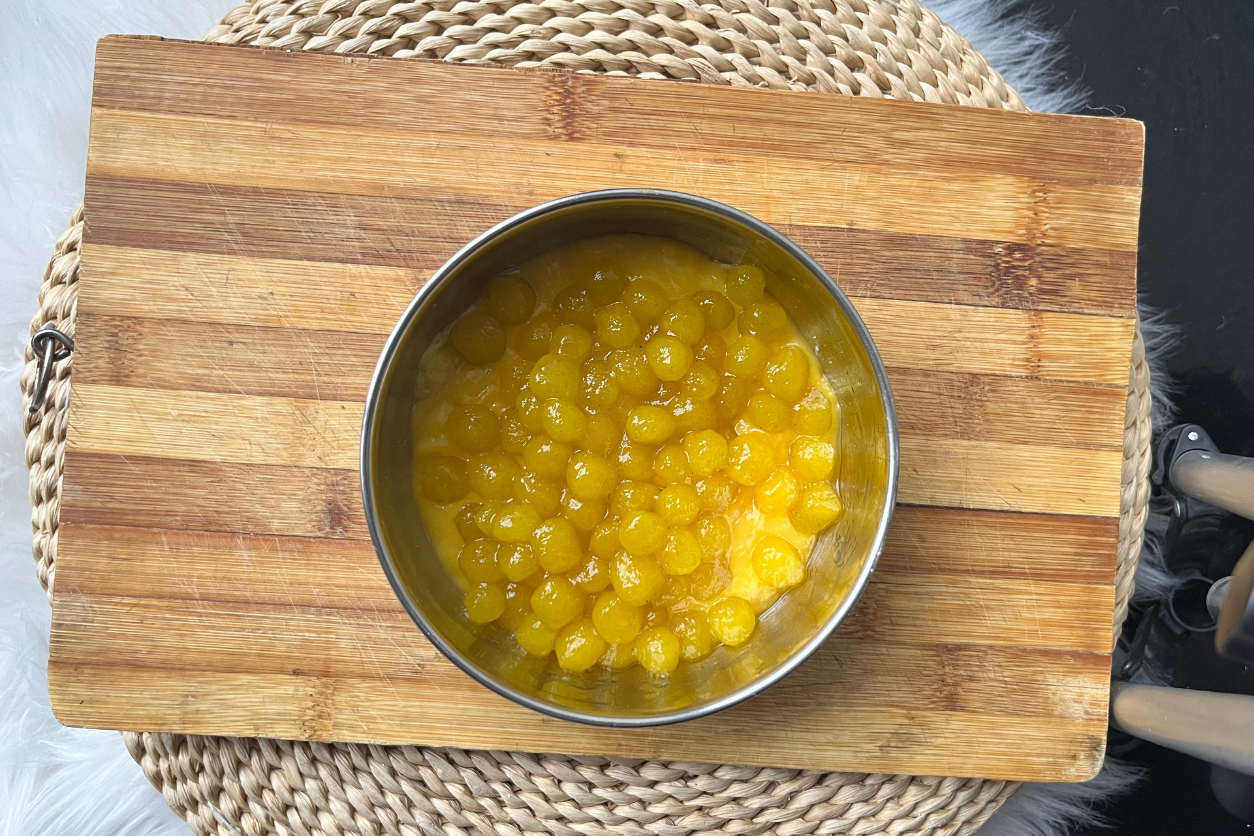
Once you’ve formed all your boba balls and coated them with tapioca starch, it’s time to cook them. Add them to simmering water, stirring constantly to prevent clumping. Once the balls float to the top, cover the pot and let them cook on low to medium heat for about 15 minutes. They should turn translucent and have a bouncy texture when they’re done. After cooking, strain the boba and immediately mix them with the reserved mango puree to keep them from sticking together.
Making the Mango Jelly
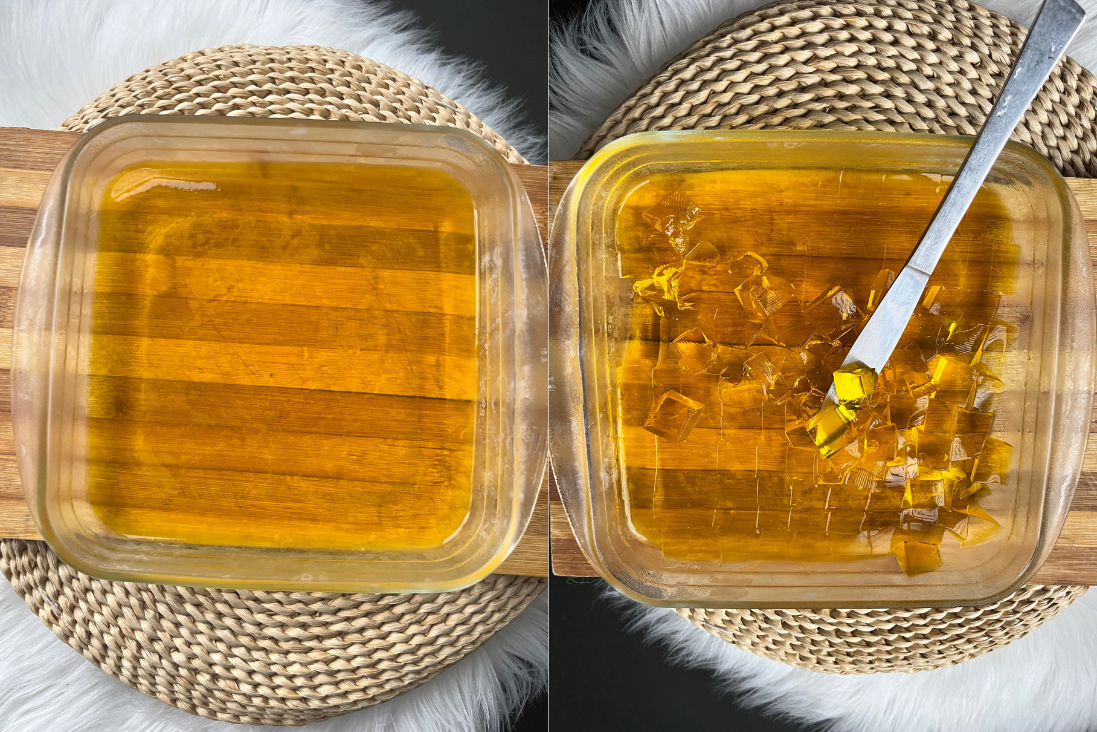
While the boba cools, it’s time to move on to the mango jelly. This step is much simpler but no less important to the overall dessert. I used a packet of mango-flavored jelly, prepared according to the instructions on the box. After preparing the jelly mixture, let it set in the fridge for about 30 minutes. You’ll want to poke the jelly lightly in the center after half an hour in the fridge to make sure it’s properly set. If it’s still a bit wobbly, give it another 10 minutes or so.
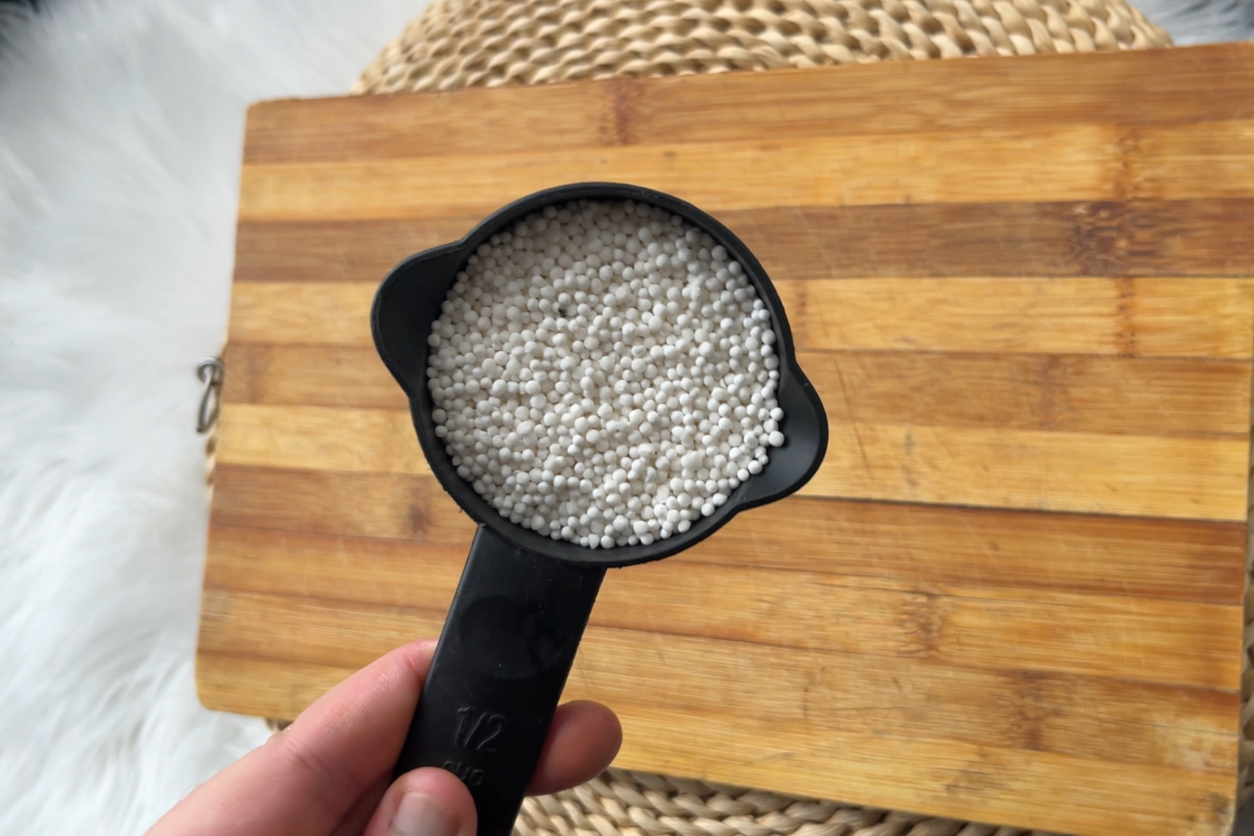
Cooking the Tapioca Pearls
Next up are the tapioca pearls. These little guys add a wonderful texture to the mango sago, and they’re pretty easy to prepare. Boil half a cup of tapioca pearls in water. I added a few drops of yellow food coloring to mine just to give them a fun twist. Let the pearls cook for about 12-15 minutes, or until they turn translucent. Once they’re done, strain them and give them a good rinse under cold water to stop the cooking process.
Here’s a quick tip—some of the pearls will inevitably stick to the strainer. Don’t stress about it too much, but make sure to wash your strainer immediately afterward to avoid having to scrape off dried-up pearls later. Trust me, that’s a hassle you don’t want to deal with.
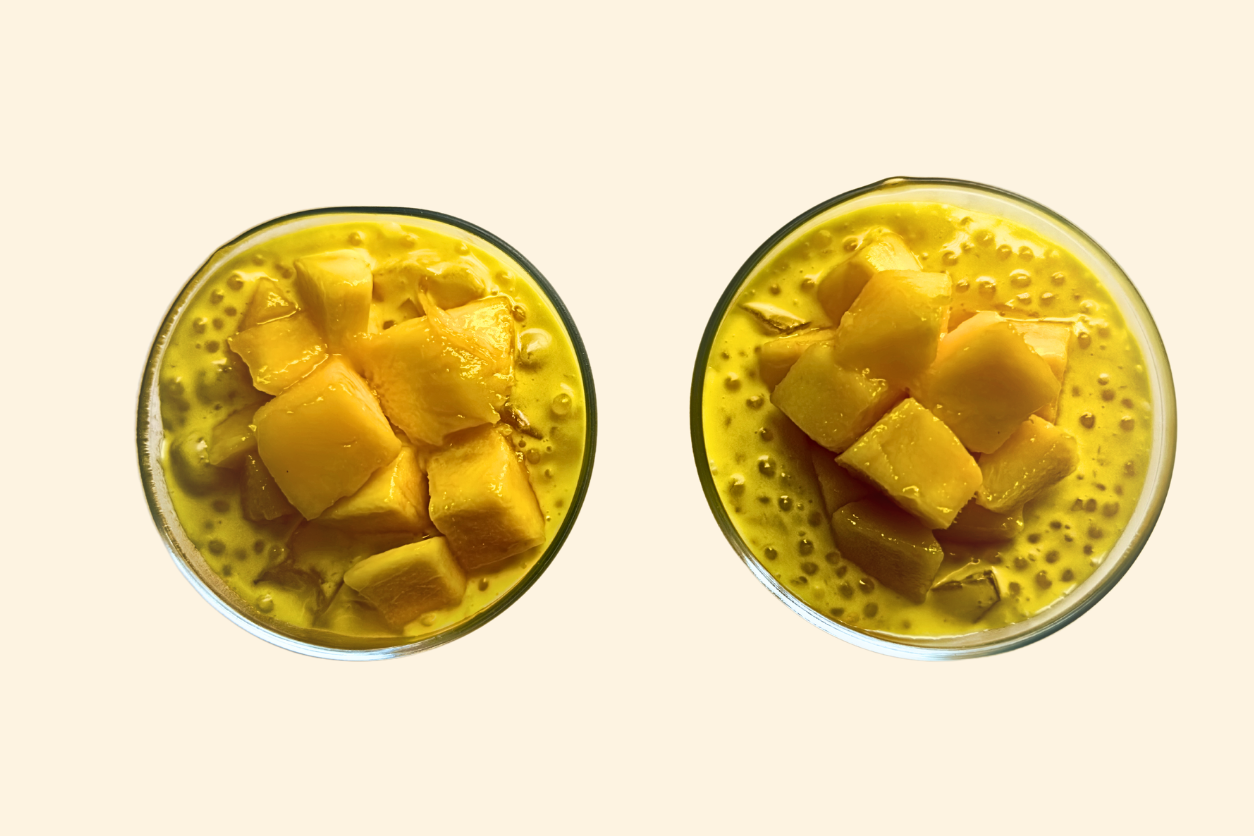
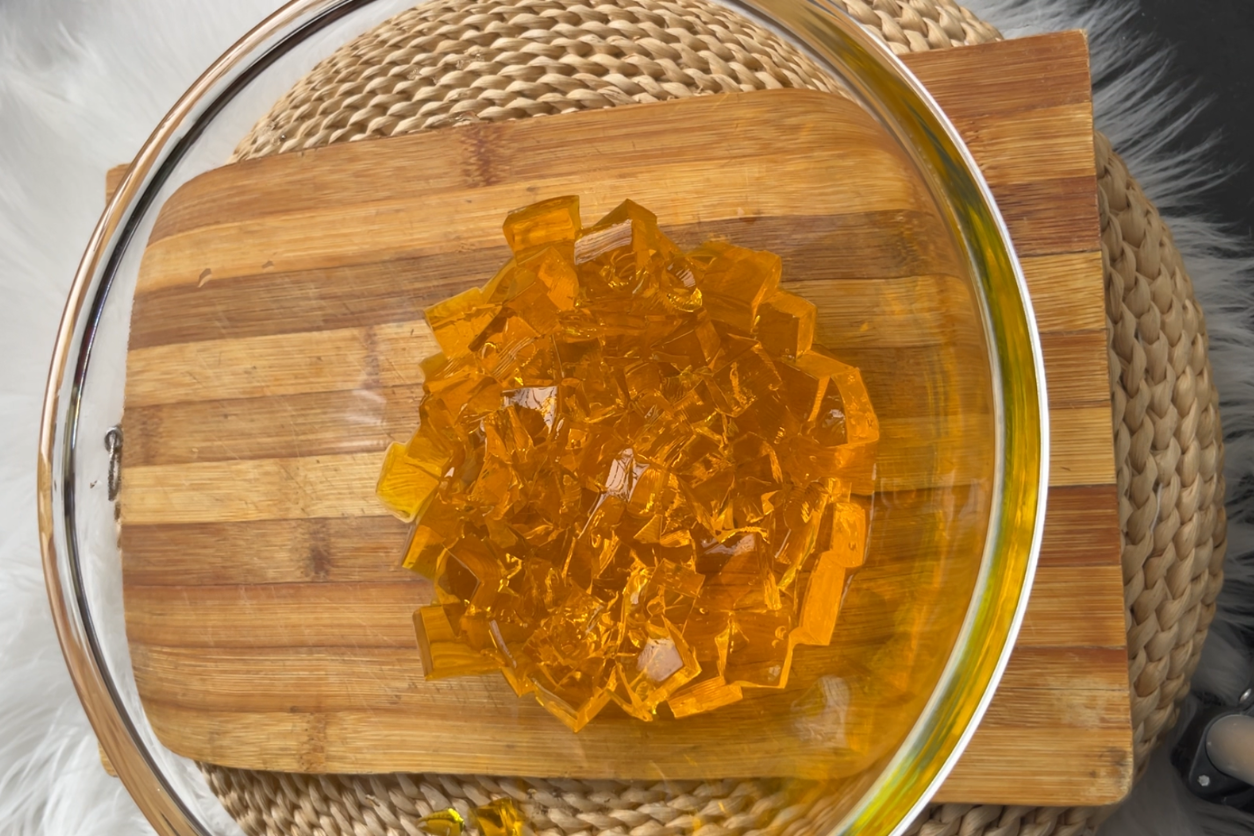
Assembling the Mango Sago
Now that all the components are ready, it’s time to bring everything together.
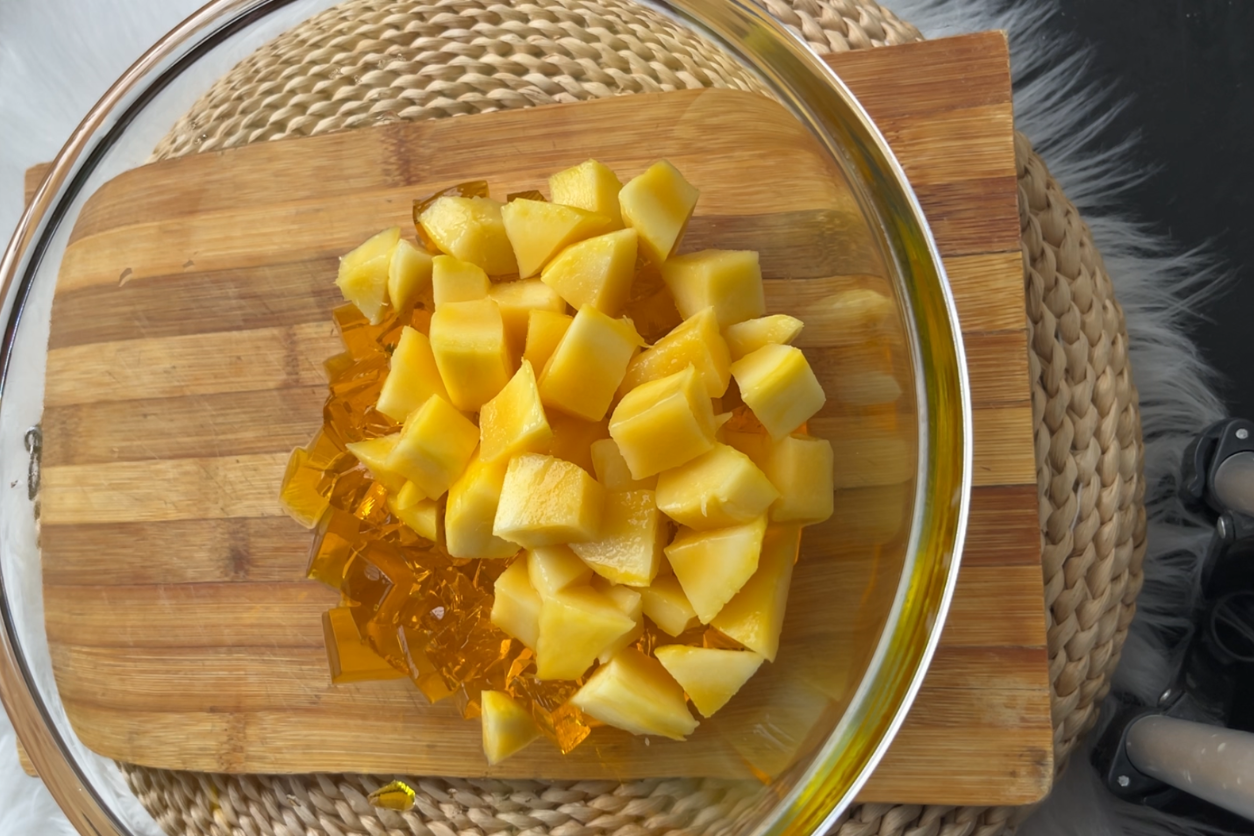
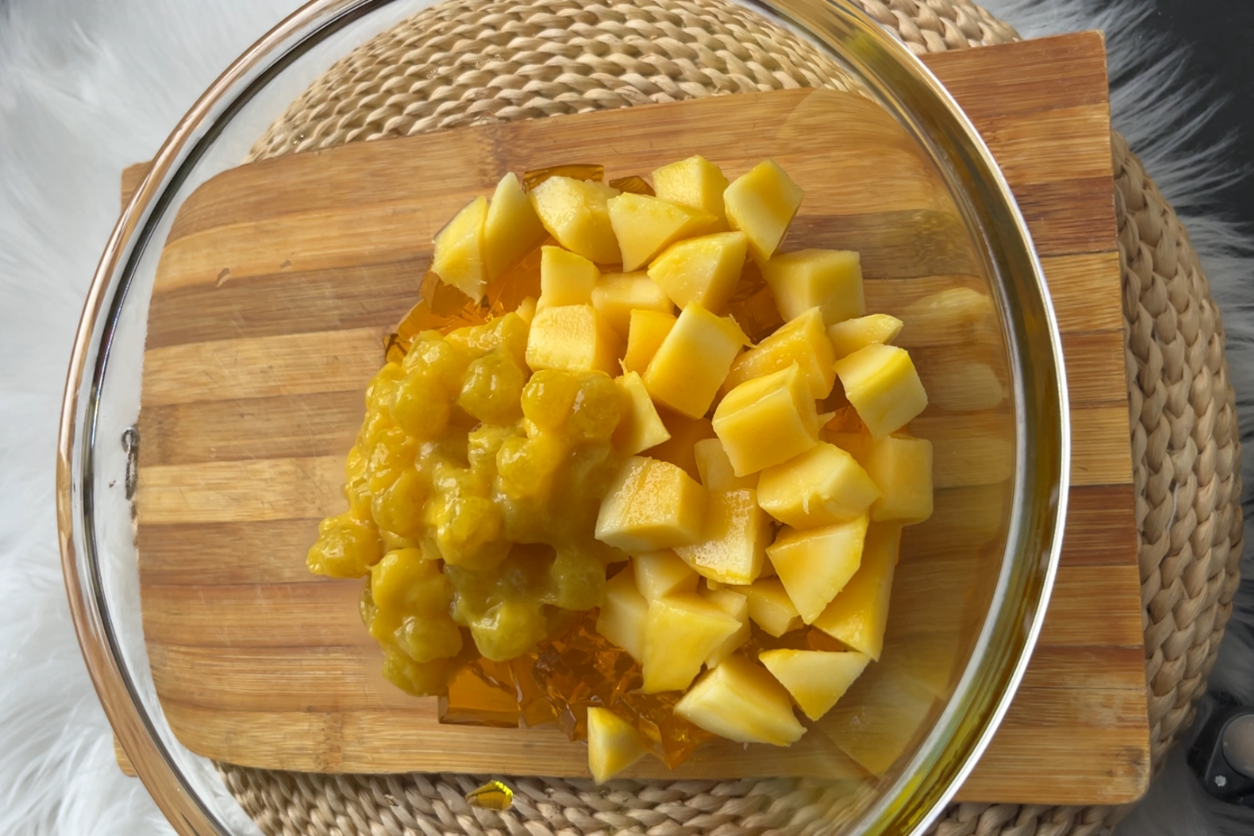
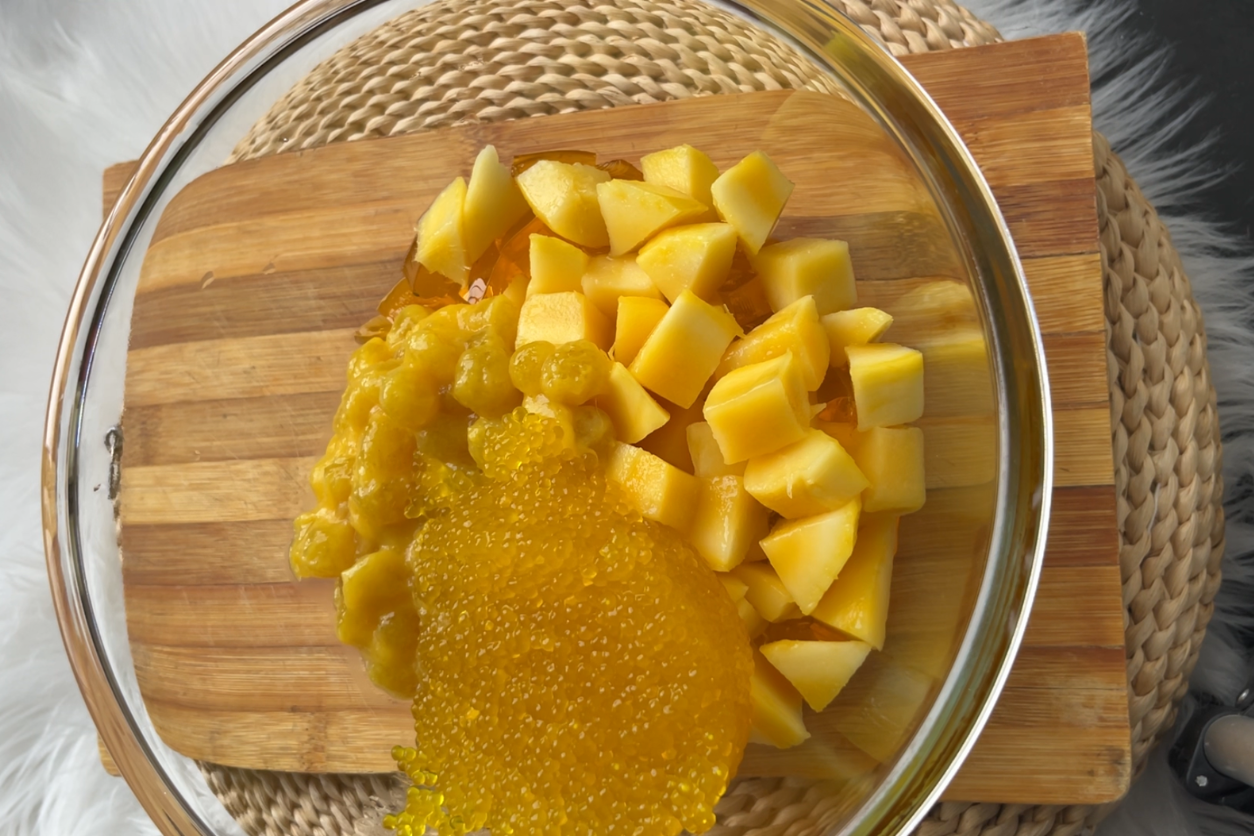
Start by cutting your mango jelly into cubes and adding them to a large bowl.
Next, toss in one large mango chopped into cubes.
Add the boba that’s been soaking in mango puree.
Then goes in the cooked tapioca pearls.
To finish, pour in one can of full-fat coconut milk and 1/4 cup of condensed milk.
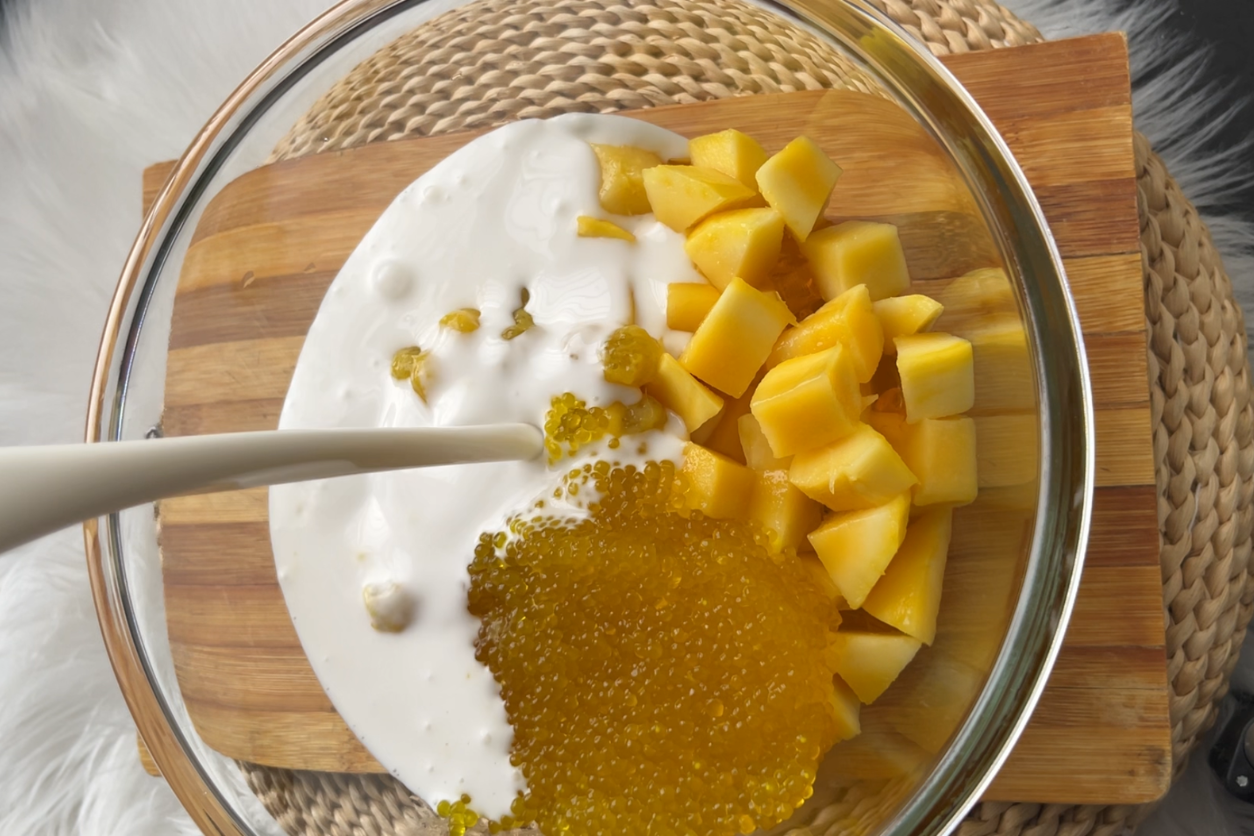
Stir everything together gently to combine. When you first mix it, the dessert might look a little runny, but don’t worry—once it chills in the fridge for 3-4 hours, the consistency will be perfect. When you’re ready to serve, garnish with some extra chopped mango for that sweet, vibrant touch.
And there you have it—a dessert that’s definitely worth the effort. Yes, it’s a bit tedious, but seeing the smiles on my kids’ faces when they dig into a bowl of this mango sago makes all the work worthwhile. Plus, it’s a great way to turn simple fruit into something special that even the pickiest eaters will love.
If you’re feeling adventurous or have some time on your hands, I highly recommend giving this recipe a try. It’s a fantastic way to get creative in the kitchen and end up with a dessert that’s as delicious as it is fun to make. And once you’ve mastered it, you’ll have a go-to treat that’s sure to impress every time.