Yaki Onigiri With Soy-Cured Egg Yolks
Have you ever tried Yaki Onigiri (焼きおにぎり)? These grilled rice balls are a beloved snack and lunchtime delight in Japan, often found sizzling on the grills of izakayas and BBQ parties. With a crispy crust on the outside and tender, seasoned rice on the inside, they’re simply irresistible—and easier to make at home than you might think!
I absolutely love rice and anything grilled, so yaki onigiri holds a special place in my heart. Usually, these rice balls are made with plain or lightly seasoned rice, sometimes with fillings like tuna or pickled plum. But recently, I wanted to experiment and thought: why not stuff them with soy-cured egg yolks?
Well, let me tell you, it was both an adventure and a lesson in patience. If you don’t cure your egg yolks long enough, forming the onigiri can be a bit messy. Trust me, I cured mine for 24 hours and wished I’d waited the full 48 for that perfect jammy consistency. So, moral of the story? Let those egg yolks cure for the whole 48 hours!
Instructions
Soy-Cure the Egg Yolks
Ingredients: 6 egg yolks, 1 cup soy sauce, 1/4 cup mirin
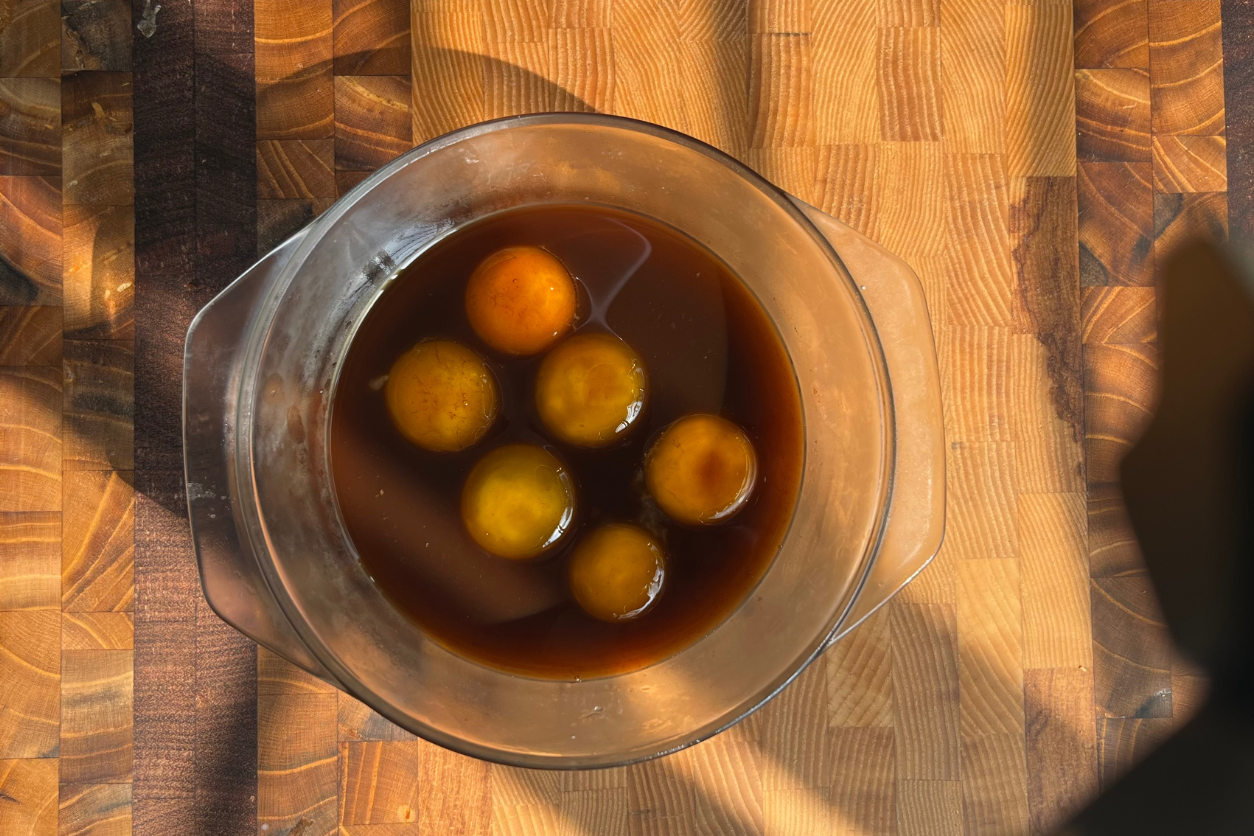
- In a bowl just wide enough to hold the egg yolks without overlapping, mix together the soy sauce and mirin.
- Carefully separate the egg yolks from the whites (save the whites for another recipe). Gently slide the yolks into the soy sauce mixture, ensuring they’re fully submerged.
- Cover the bowl and refrigerate for 48 hours. Patience is key here—the longer cure time gives the yolks that desired jammy texture.
2. Cook and Season the Rice
Ingredients: 1 cup Japanese short-grain rice, 1.5 cups water, 1/4 cup rice vinegar, 2 tbsp sugar, 1 tsp salt
- Rinse the rice under cold water until the water runs clear to remove excess starch.
- In a saucepan, combine the washed rice and 1.5 cups water. Bring to a boil over medium heat.
- Once boiling, reduce heat to low, cover with a lid, and let it simmer for 10 minutes.
- After simmering, turn off the heat but keep the lid on. Let the rice steam for another 10 minutes.
- In a small bowl, mix 1/4 cup rice vinegar, 2 tablespoons sugar, and 1 teaspoon salt until dissolved.
- Transfer the cooked rice to a large bowl. Pour the vinegar mixture over the rice and gently fold it in using a rice paddle or spatula. Let the rice cool to room temperature.
Related: How To Make Coconut Rice in a Rice Cooker

3. Shape the Rice Balls
Wet your hands before shaping the rice balls to prevent sticking. If using a mold, lightly brush the inside with oil; this will make it easier to release the onigiri without breaking it.
Shaping by hand: Take a handful of seasoned rice and form it into a ball. Make an indentation in the center and gently place a soy-cured egg yolk inside. Carefully mold the rice around the yolk, forming a triangle or ball shape.
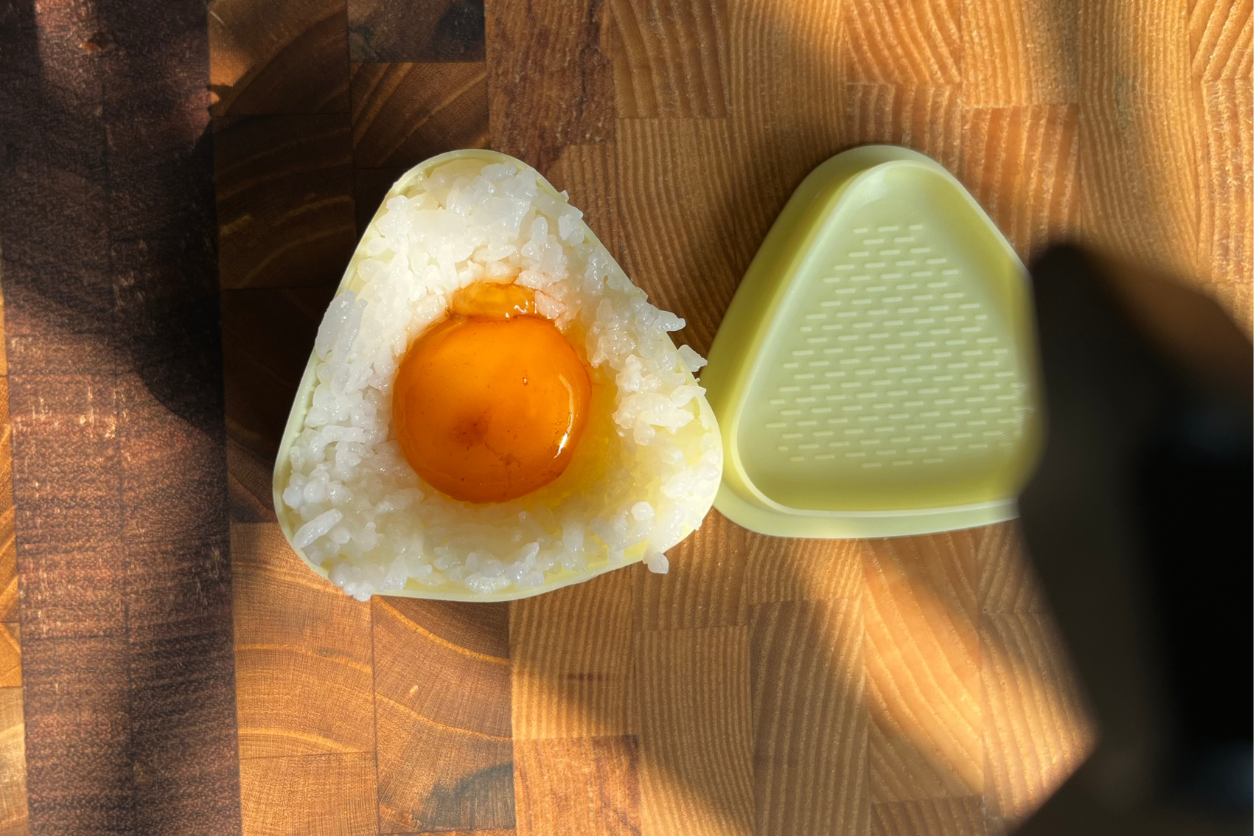
Using a mold: Fill the mold halfway with rice. Create a small well in the center and place the egg yolk inside. Add more rice on top to fill the mold. Press gently with the mold’s lid to shape the onigiri—don’t press too hard to avoid bursting the yolk. Release the onigiri onto a plate lined with parchment paper.
Tip: Always keep your hands moist to prevent the rice from sticking.
4. Grill the Onigiri
Ingredients: 1 tbsp soy sauce, 1 tsp toasted sesame oil
- In a small bowl, mix 1 tablespoon soy sauce and 1 teaspoon toasted sesame oil
- Heat a non-stick pan over medium heat. Brush each rice ball lightly with the glaze on all sides
- Place the onigiri in the pan and grill each side until golden brown and crispy. Don’t cook them too long, or the egg yolk inside may overcook—we’re aiming for that soft center!
- As they cook, you can brush on a bit more glaze for extra flavor
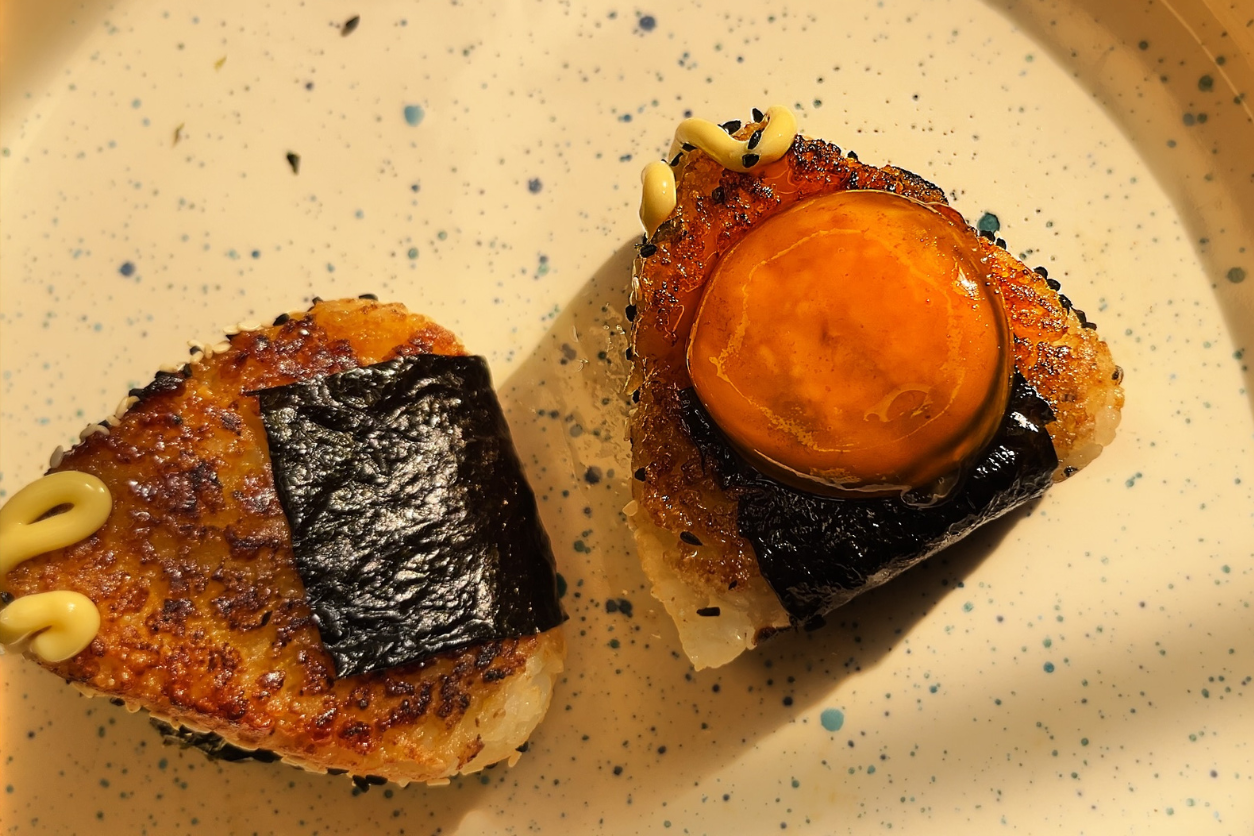
5. Garnish and Serve
- Wrap a strip of nori around each onigiri if you like that traditional touch
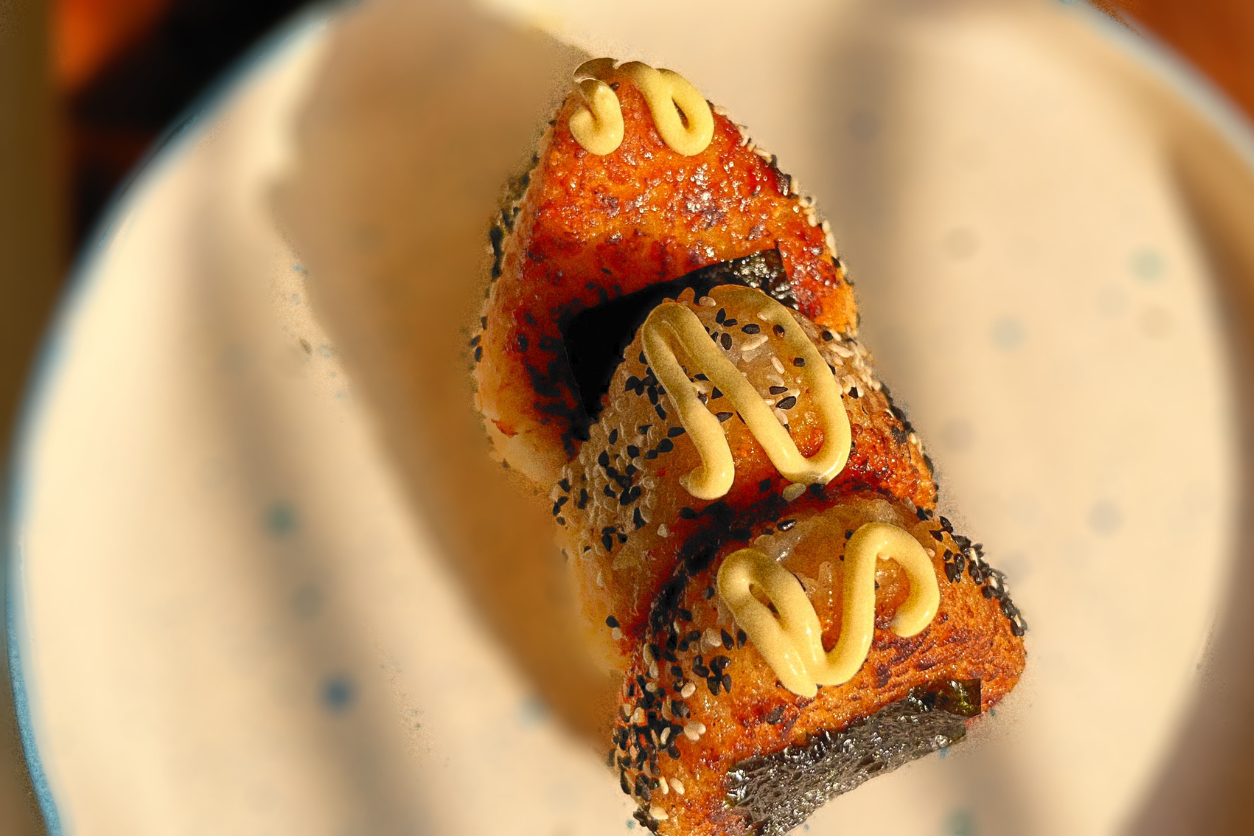
- Roll the edges in sesame seeds for added flavor and crunch
- Drizzle or dollop Kewpie mayo on top for a creamy finish
Ingredients
For the Soy-Cured Egg Yolks:
- 6 egg yolks
- 1 cup soy sauce
- 1/4 cup mirin (sweet rice wine)
For the Seasoned Rice:
- 1 cup Japanese short-grain rice
- 1.5 cups water
- 1/4 cup rice vinegar
- 2 tablespoons sugar
- 1 teaspoon salt
For the Glaze:
- 1 tablespoon soy sauce
- 1 teaspoon toasted sesame oil
Optional Garnishes:
- Nori (seaweed) strips
- Sesame seeds
- Kewpie mayo
View this post on Instagram
Enjoy Immediately! These are best eaten fresh off the pan when they’re warm and crispy.
Our Recipe for Trust: Why Choose Kitchen Institute
At the Kitchen Institute, we're dedicated to providing reliable and accurate information on cooking trends, tips, and product reviews. Our team of passionate food enthusiasts ensures that every piece of content is thoroughly researched and based on real-world experience. We pride ourselves on our comprehensive and unbiased product reviews, rigorous research processes, and commitment to staying current with the latest culinary innovations. Trust us to enhance your culinary journey with quality insights and practical advice.