Homemade Marshmallow Fluff That Puts the Store-Bought Stuff to Shame
Making marshmallow fluff from scratch was one of those things I avoided for a while, convinced it was unnecessary when I could grab a jar from the store and move on with my life. But then I tried making it myself. And now? I can never go back.
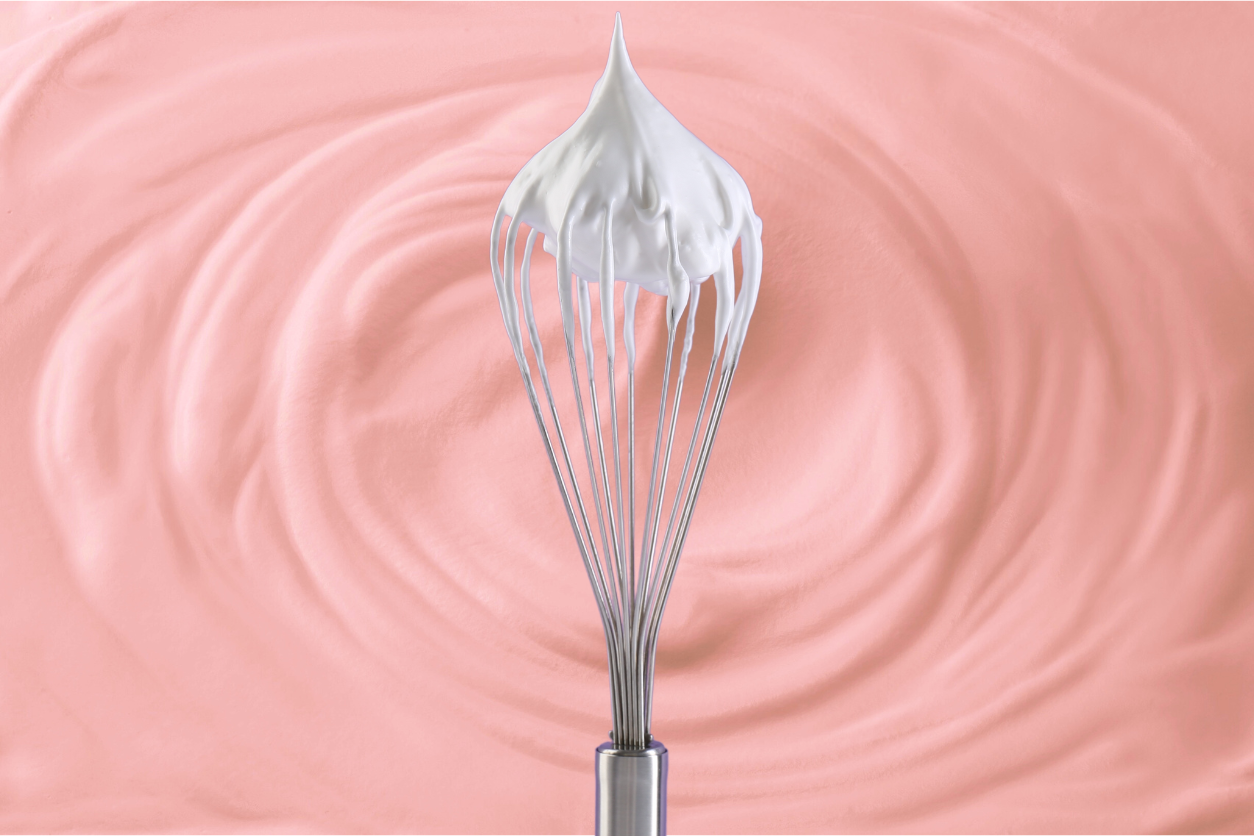
There’s just something about homemade marshmallow fluff that makes it worth the effort. The texture is silkier, the flavor is better, and most importantly, it actually holds its shape. Store-bought fluff has a tendency to be way too runny, which is a problem if you’re trying to pipe it onto desserts or toast it for that perfect golden char. This version is thick, glossy, and stable—thanks to a little trick I use with gelatin.
Also, because I can’t resist a seasonal theme, I made this batch pink in honor of Valentine’s Day. Feel free to skip the food coloring or go wild with any shade you like.
Why This Marshmallow Fluff is Worth Making Yourself
- Stabilized with gelatin – This keeps the fluff from deflating and gives it a smooth, pipeable texture.
- Not overly sweet – Some recipes suggest using honey instead of corn syrup, but in my experience, that just makes the fluff taste too sugary. I stick with corn syrup (or glucose syrup if that’s what you have on hand).
- Torches beautifully – Unlike some fluff that just melts into a sad puddle, this one actually toasts up like a real marshmallow, making it perfect for s’mores, hot chocolate, or plating desserts.
- Keeps well in the fridge – Though, let’s be honest, mine never lasts more than a week because I end up spooning it straight from the jar.
View this post on Instagram
What You’ll Need
Ingredients:
- 3 large egg whites, room temp
- A pinch of salt
- 1/3 cup water
- ¾ cup granulated sugar
- ¾ cup corn syrup (or glucose syrup—dilute with a little water if needed)
- 1 tsp vanilla extract
- 1 tsp gelatin powder + 2-3 tbsp warm water
- Food coloring of your choice (optional)
How to Make Marshmallow Fluff
Step 1: Start Whipping the Egg Whites
Separate your egg whites and get them into the bowl of a stand mixer fitted with a whisk attachment. Add a pinch of salt, then start whipping on medium speed until you reach soft peaks.
This step gives your fluff structure. If the eggs don’t whip properly, the final result won’t be as fluffy or stable.
Step 2: Cook the Sugar Syrup
While the egg whites are doing their thing, combine the water, sugar and corn syrup in a saucepan over medium heat. Let it cook without stirring—moving it around too much can cause sugar crystals to form.
Attach a candy thermometer to the side of the pot and keep an eye on it. When the syrup reaches 240°F (115°C), immediately remove it from the heat.
Step 3: Combine the Syrup and Egg Whites
Turn the mixer speed down to low (this prevents the syrup from splattering everywhere), then slowly stream the hot sugar syrup into the egg whites. The key is to pour between the whisk and the side of the bowl, so it blends in smoothly without hitting the whisk and getting flung everywhere.
Once all the syrup is incorporated, crank the mixer up to high speed and let it whip for about 5 minutes. The mixture will look deflated at first, but don’t worry—it will fluff up beautifully.
Step 4: Add Vanilla, Gelatin, and Food Coloring
Once the fluff starts looking thick and glossy, add in the vanilla extract.
Separately, bloom the gelatin by mixing it with 2-3 tablespoons of warm water. Once fully dissolved, pour it into the mixer. Add in a few drops of food coloring (if using) and continue whipping for another 5 minutes, or until the bowl is slightly cool to the touch.
At this point, the marshmallow fluff should be thick, glossy, and ready to use.
How to Use & Store It
For piping: Transfer to a piping bag and use immediately. The fluff will hold its shape beautifully for plating desserts.
For storage: Keep it in an airtight container in the fridge for up to two weeks. If it starts to deflate, just give it a quick rewhip before using.
For s’mores & hot chocolate: This fluff torches like a dream. Just spoon some on top and hit it with a kitchen torch for that golden-toasty effect.
Our Recipe for Trust: Why Choose Kitchen Institute
At the Kitchen Institute, we're dedicated to providing reliable and accurate information on cooking trends, tips, and product reviews. Our team of passionate food enthusiasts ensures that every piece of content is thoroughly researched and based on real-world experience. We pride ourselves on our comprehensive and unbiased product reviews, rigorous research processes, and commitment to staying current with the latest culinary innovations. Trust us to enhance your culinary journey with quality insights and practical advice.