DIY Kitchen Makeover: Build a Trendy Kitchen Island You’ll Love in 4 Easy Steps
Revamping your kitchen with a DIY island can be more than just a functional upgrade—it’s a personal statement in the heart of your home. Let’s dive into building a stylish and sturdy kitchen island that blends practicality with a pinch of woodworking charm.
Planning and Preparation
Measure Twice, Cut Once
Accurate measurements are foundational in woodworking. Start by assessing the kitchen area where you want your island to sit. Consider key factors like clearance from other kitchen elements and the general traffic flow around the island. This initial step is crucial to ensure that the island fits perfectly and enhances kitchen functionality rather than becoming an obstacle.
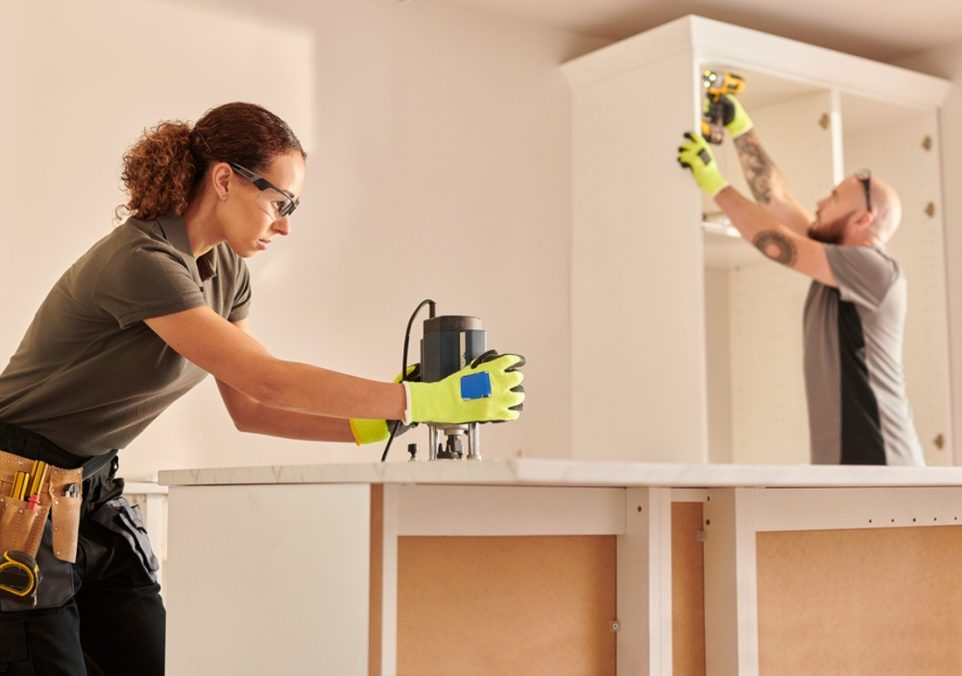
Tools and Materials
Selecting the right tools and materials is essential for your project’s success:
Tools
You’ll need basic woodworking tools such as a circular saw for cutting straight lines, a drill for assembling parts, and a sander for finishing surfaces. Each tool plays a pivotal role in ensuring clean cuts and strong assembly.
Materials
Opt for materials that align with both your aesthetic preferences and durability requirements. Birch plywood is a popular choice for the frame due to its strength and cost-effectiveness, while hardwood like maple can be ideal for the countertop if you’re seeking longevity and a classic look.
Constructing the Frame
Building a strong frame is like laying the foundation of a house—it needs to be sturdy and level. Begin by constructing a rectangular base using 2x4s, securing the corners with wood glue and screws for added stability. Make sure everything is square by measuring diagonally across the structure; adjustments here are easier to make than later in the process.
Next, add vertical supports that will bear the weight of the countertop. These should be evenly spaced to distribute the load and prevent any sagging in the middle of the island. This structure will not only support the countertop but also define the overall shape and strength of your island.
Installing the Countertop and Finishing Touches
Countertop Installation
Once the frame is ready, lay the countertop material over it. Whether you choose a slab of granite, a custom piece of hardwood, or a pre-fabricated countertop, ensure it fits snugly onto the frame. Secure it from underneath with screws, taking care not to penetrate the top surface. This step will largely dictate the final look and feel of your island, so take your time to get it right.
Finishing
Sanding the wood surfaces will remove any rough edges and prepare it for staining or painting. Choose a finish that matches your kitchen cabinets or adds a contrasting element to make the island stand out. Apply a coat of wood sealant to protect against moisture and stains, ensuring your creation withstands the test of time and use.
Final Touches and Installation
Now that your island is almost ready, consider the finer details that can enhance its functionality and aesthetic appeal. Install fixtures like drawer pulls or hooks, and consider adding a lower shelf for additional storage. For seating, choose stools that complement the height and style of the island, enhancing its usability.
Once everything is assembled, positioned, and secured, take a step back and admire your handiwork. A DIY kitchen island not only serves as a functional piece of your kitchen but also as a testament to your craftsmanship and attention to detail.
Our Recipe for Trust: Why Choose Kitchen Institute
At the Kitchen Institute, we're dedicated to providing reliable and accurate information on cooking trends, tips, and product reviews. Our team of passionate food enthusiasts ensures that every piece of content is thoroughly researched and based on real-world experience. We pride ourselves on our comprehensive and unbiased product reviews, rigorous research processes, and commitment to staying current with the latest culinary innovations. Trust us to enhance your culinary journey with quality insights and practical advice.