How to Clean Your Keurig Coffee Maker
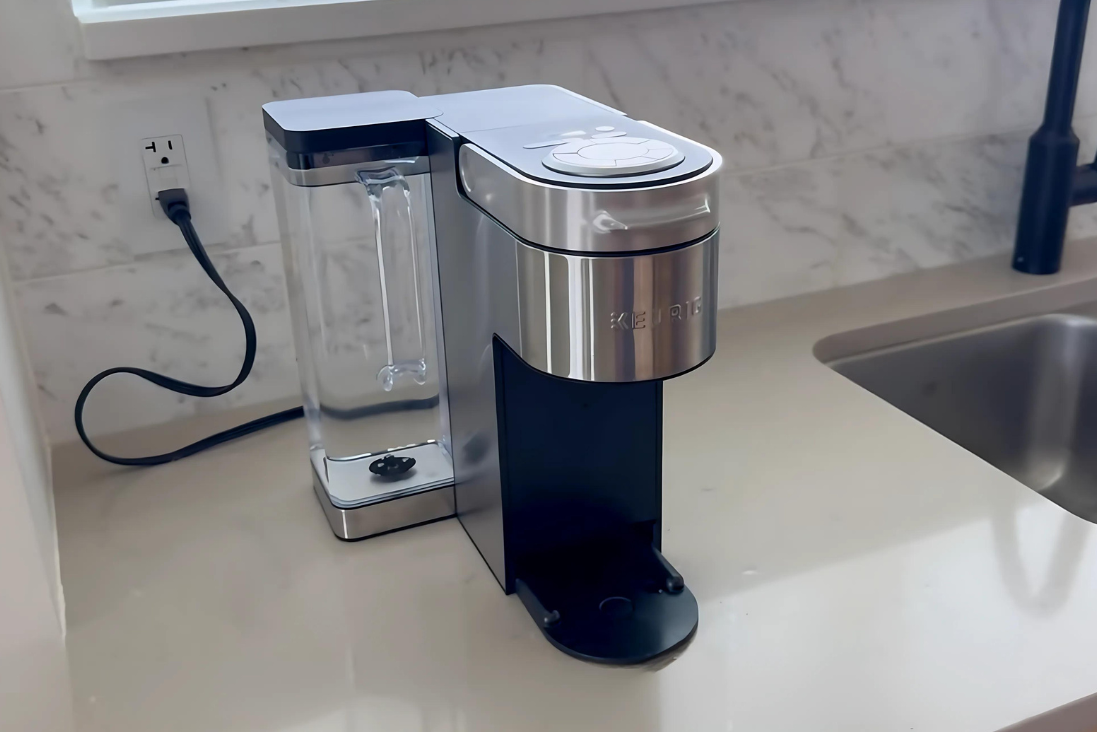
If you’re someone who loves their morning coffee ritual, there’s nothing worse than realizing your coffee maker isn’t working as efficiently as it used to. Here’s how to clean a Keurig coffee maker.
When you use your coffee maker daily, minerals from water (especially if it’s hard water) start to accumulate. Over time, these deposits—known as scale—can clog the internal components of your coffee machine, causing inconsistencies in brew times, coffee temperatures, and even potential breakdowns. Irregular cleaning also causes the buildup of bacteria and mold, especially if you live in a humid environment. Whether you have a singe-serve brewer or a drip coffee maker, there are a number of ways to clean different coffee machines — if you want to learn specifically how to clean a Keurig machine, keep reading.
Related: How to Clean a Coffee Maker Without Vinegar
How to Clean a Keurig Coffee Maker
To clean a Keurig coffee maker, you don’t need any fancy gadgets or specialty products. Most of the items you’ll need are already in your kitchen. Here’s what you’ll need:
- Distilled white vinegar or a Keurig-approved descaling solution
- Clean water
- A large ceramic mug
- Dish soap and a sponge
- A paperclip (for cleaning out the needles)
Step 1: Disassemble and Clean the Removable Parts
Safety first: turn off and unplug your Keurig!
Once it’s off, remove all the detachable components—the water reservoir, drip tray, and K-cup holder—to give them a thorough cleaning.
Don’t worry, it’s simple. Wash them in lukewarm soap water to remove any built-up coffee grounds or residue. Rinse everything well and allow them to dry.
One part of the machine that often gets overlooked is the needles—the little components that puncture the K-cup and allow the water to flow through. Coffee grounds can clog these needles, so cleaning them is key to maintaining a smooth brew.
This is where that paperclip comes in handy. Unbend the paperclip and gently insert it into the holes in the needles to dislodge any stuck coffee grounds. Be careful not to push too hard, just a gentle nudge to remove the debris.
Step 2: Descale the Keurig
Descaling is crucial for removing the mineral build-up inside your coffee machine. If you’re using a Keurig-approved descaling solution, follow the manufacturer’s instructions. If you prefer to use something more readily available, distilled white vinegar works just as well.
Here’s how to descale with vinegar:
- In a 1-to-1 ratio, fill the water reservoir with white vinegar and water
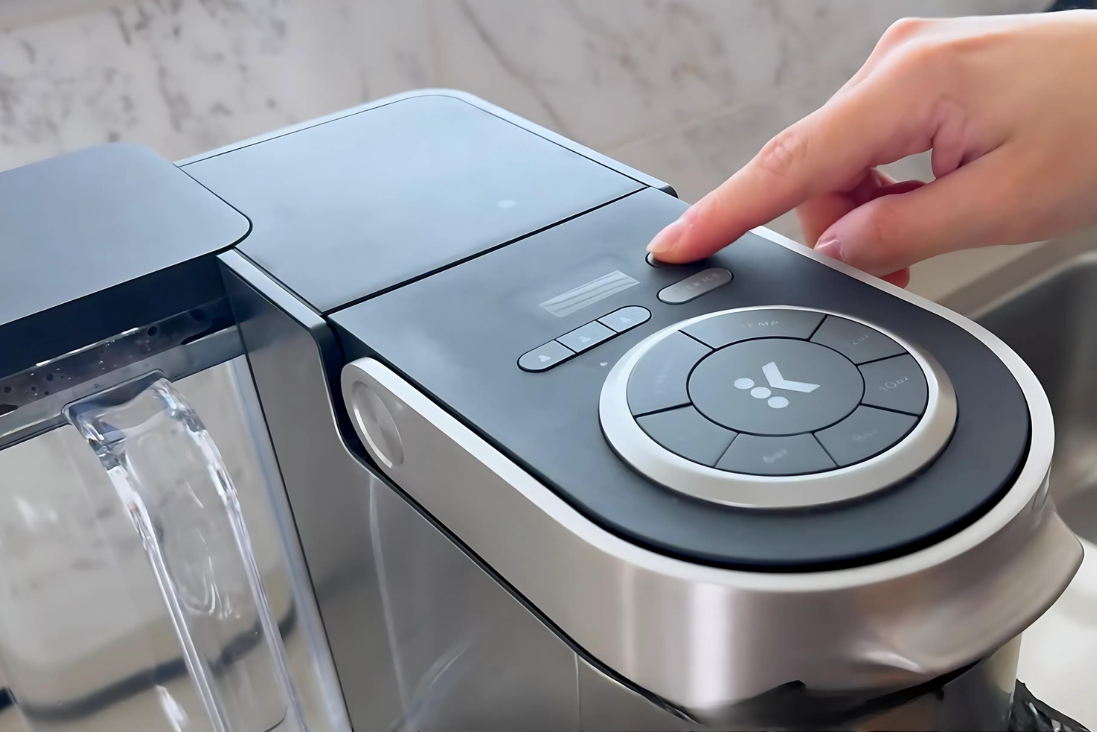
- Place your mug under the dispenser and run a cycle without a coffee pod in the machine. Use the largest cup setting for this
- Keep repeating the process until the reservoir is empty. The vinegar solution passes through the machine, breaking down any mineral deposits inside
- Once the solution has run through, let the Keurig sit for about 30 minutes to allow the remaining vinegar to break down any remaining deposits inside the machine
Step 3: Rinse and Reassemble
After descaling, rinse the machine thoroughly to wash out the residual vinegar. Fill the reservoir with clean water and run several brewing cycles (again, without any coffee or tea pods) until you no longer smell or taste any vinegar in the water. Typically, you’ll need to run about 3 to 5 cycles for a full rinse.
While the machine is rinsing, take a soft cloth and wipe down the exterior. This is a great time to remove any coffee stains or splashes that might have accumulated on the surface. Be sure to pay attention to the areas around the buttons and the lid, as coffee splatters tend to land there.
Once everything is clean and dry, reassemble your Keurig by replacing the K-cup holder, drip tray, and water reservoir. Your machine should be sparkling clean at this point and ready to brew. Test it out by running a cycle with fresh water one more time just to ensure all the vinegar is gone.
How Often Should You Clean Your Keurig?
You might be wondering how often you should go through the trouble of cleaning your Keurig coffee maker. Ideally, you should be giving your Keurig a good deep clean every three to six months, depending on how often you use it. In between deep cleanings, it’s a good idea to wash the drip tray and water reservoir weekly, especially if you see any visible build-up. This routine maintenance can make a huge difference in the longevity of your machine.
What If Your Keurig Is Still Acting Up?
Sometimes, even after a good cleaning, your Keurig might still act up. Here are a few common problems and their solutions:
Slow brew times: If your Keurig still seems sluggish, it might mean that there’s some residual build-up in the system. Try descaling it one more time or repeating the needle-cleaning process with your paperclip.
Weird-tasting coffee: If your coffee still tastes bad after cleaning, there might be leftover cleaning solution or vinegar in the system. Run a few more cycles with clean water to flush it out completely.
Leaks: If you notice water leaking, double-check that the water reservoir is properly seated. Sometimes, the components don’t align perfectly after reassembly, causing minor leaks.
Cleaning your Keurig coffee maker might feel like a chore, but it’s a necessary one if you want to keep brewing great coffee. A little effort every few months will ensure your machine stays in working condition for years to come.
Our Recipe for Trust: Why Choose Kitchen Institute
At the Kitchen Institute, we're dedicated to providing reliable and accurate information on cooking trends, tips, and product reviews. Our team of passionate food enthusiasts ensures that every piece of content is thoroughly researched and based on real-world experience. We pride ourselves on our comprehensive and unbiased product reviews, rigorous research processes, and commitment to staying current with the latest culinary innovations. Trust us to enhance your culinary journey with quality insights and practical advice.