The Easiest Way to Cook Bacon at Home – No More Greasy Pans!
Nothing beats the satisfying crunch of crispy bacon, but cooking it on the stovetop is another story. Between the splattering grease and uneven cooking, frying bacon in a pan can turn into a frustrating, messy process. That’s why the best method is baking it. If you’ve ever wondered how to cook bacon in the oven, the process is surprisingly simple, with fewer messes and consistently delicious results.
When you bake bacon, you eliminate the constant flipping and grease splatter that comes with pan-frying. It also allows you to cook an entire batch at once, so everyone can enjoy hot, crispy bacon at the same time. Rachel Farnsworth, chef and creator of The Stay at Home Chef, says it best: “This is my favorite way to cook bacon because it’s so easy and so convenient, you’ll never go back to making bacon in the frying pan ever again.”
Why Baking Bacon is Better Than Frying
There’s a reason professional chefs and home cooks alike swear by baking bacon instead of frying. First, it ensures an even cook without the need to constantly monitor and flip each strip. The oven distributes heat more consistently, so every slice turns out perfectly cooked, without some pieces burning while others stay undercooked.
Another benefit is the cleanup. With the stovetop method, you’re left with grease splattered across your counters and stovetop. Baking, on the other hand, contains the mess on a lined baking sheet, making disposal much easier. If you use a wire rack, the excess grease drips away, reducing the amount of fat on each piece. Plus, when you’re cooking for a crowd, baking allows you to cook multiple slices at once—no more waiting in batches.
How to Cook Bacon in the Oven
If you’re ready to ditch the pan, here’s how to cook bacon in the oven for perfectly crispy, evenly cooked results every time.
Step 1: Preheat the Oven
First, set your oven to 400°F (200°C). This is the ideal temperature for bacon that’s crispy on the outside and just the right amount of chewy in the middle.
Step 2: Line Your Baking Sheet
You have two options when setting up your pan: parchment paper or aluminum foil. Both work well for minimizing cleanup, but parchment paper helps keep the bacon from sticking.
If you prefer a slightly healthier option, place a wire rack over the lined sheet. This allows the grease to drip off while the bacon cooks. Rachel explains, “The parchment paper method gives you a lovely, perfect piece of bacon, while the wire rack method is great if you want to avoid excess grease.”
Step 3: Arrange the Bacon Strips
Lay out your bacon slices in a single layer and make sure they touch but don’t overlap. Bacon shrinks as it cooks, so placing them close together helps maintain even cooking. If your pan is too small to fit all the slices, it’s better to use two pans rather than layering the bacon.
Step 4: Bake the Bacon
Place the baking sheet on the middle rack and let it bake for 15-20 minutes. Cooking time depends on how crispy you like your bacon. For extra thick-cut bacon, you may need to extend the time to 25-30 minutes. Rachel shares a key tip: “At 15 minutes, your bacon will be fully cooked but still soft. If you like it crispier, just leave it in longer.” Keep an eye on it in the last few minutes to hit your perfect level of crispiness.
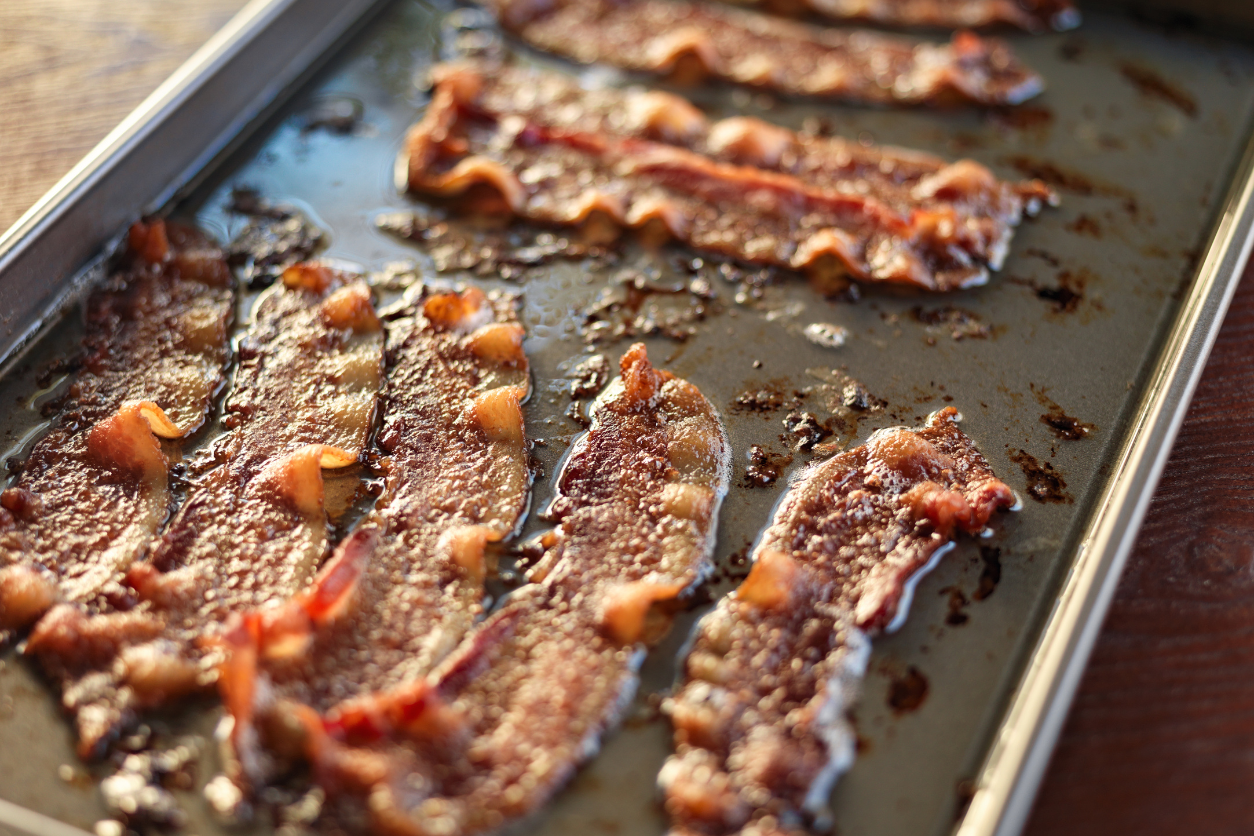
Step 5: Drain the Grease and Serve
Once your bacon reaches the desired crispiness, use tongs to transfer it to a plate lined with paper towels. This helps soak up any remaining grease. If using a wire rack, you’ll notice that the bacon isn’t sitting in its own fat, resulting in a slightly different texture than the parchment paper method.
How Long to Cook Different Types of Bacon
Bacon comes in a variety of cuts, and each one needs a slightly different cooking time:
- Regular-cut bacon: 15-20 minutes
- Thick-cut bacon: 20-30 minutes
- Turkey bacon: 12-15 minutes
The best way to know when your bacon is done is to watch it. Everyone’s oven is a little different, and personal preference plays a huge role. Check it around the 15-minute mark and adjust as needed.
The Easiest Cleanup Ever
One of the biggest advantages of baking bacon is how easy it is to clean up. If you used parchment paper or aluminum foil, simply let the grease cool, fold up the liner, and toss it in the trash. No scrubbing, no greasy pan to deal with.
If you want to save the bacon grease, let it cool slightly, then pour it into a glass jar. It’s packed with flavor and can be used for cooking eggs, sautéing vegetables, or even making cornbread. It’s liquid gold in the kitchen.
Our Recipe for Trust: Why Choose Kitchen Institute
At the Kitchen Institute, we're dedicated to providing reliable and accurate information on cooking trends, tips, and product reviews. Our team of passionate food enthusiasts ensures that every piece of content is thoroughly researched and based on real-world experience. We pride ourselves on our comprehensive and unbiased product reviews, rigorous research processes, and commitment to staying current with the latest culinary innovations. Trust us to enhance your culinary journey with quality insights and practical advice.