How to Cook Tapioca Pearls for Bubble Tea
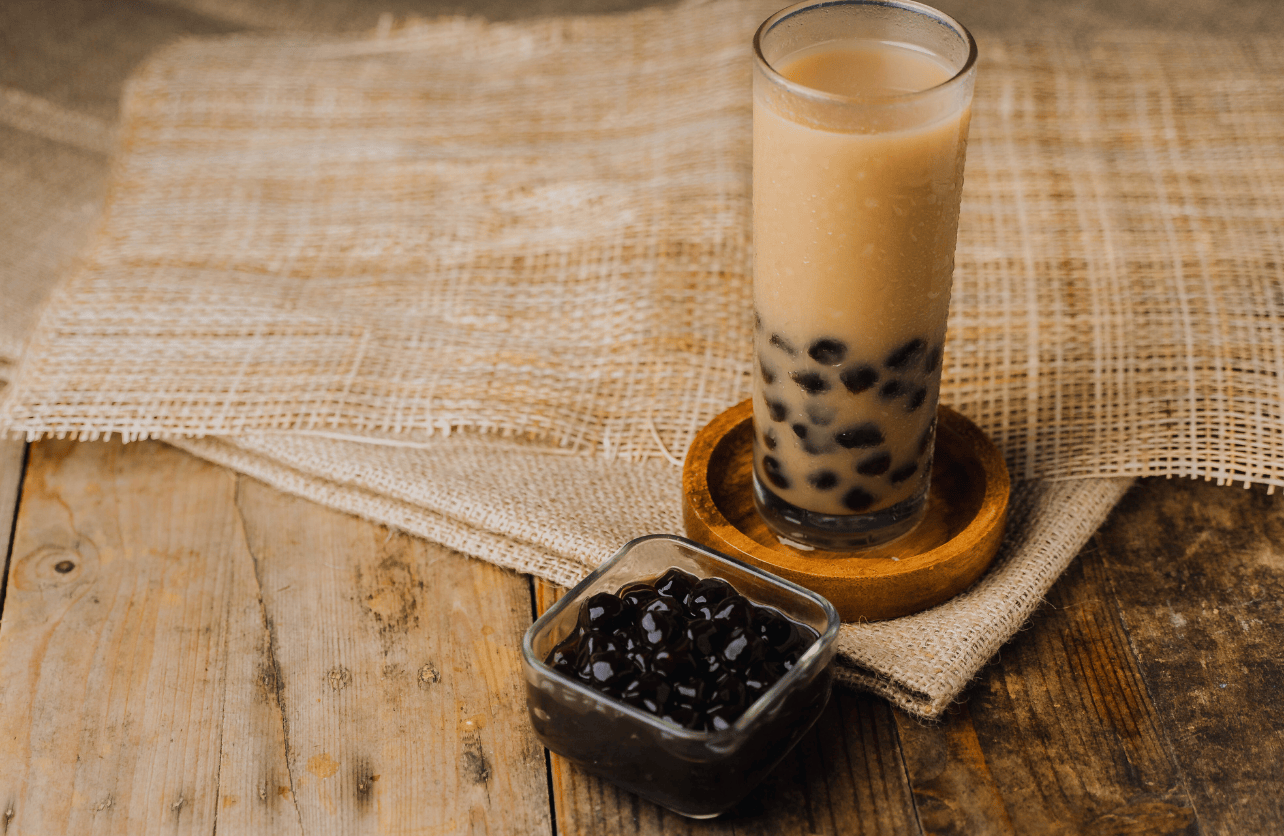
If you’re a bubble tea lover, you probably know that the key to a great boba drink is the tapioca pearls. Perfectly cooked pearls should be soft yet chewy, with just the right amount of bounce. But if you’ve ever tried making them at home and ended up with mushy, undercooked, or rock-hard pearls, you’re not alone. The process might seem intimidating, but once you get the hang of it, it’s actually quite simple. Here’s everything you need to know to get that perfect texture.
What You’ll Need
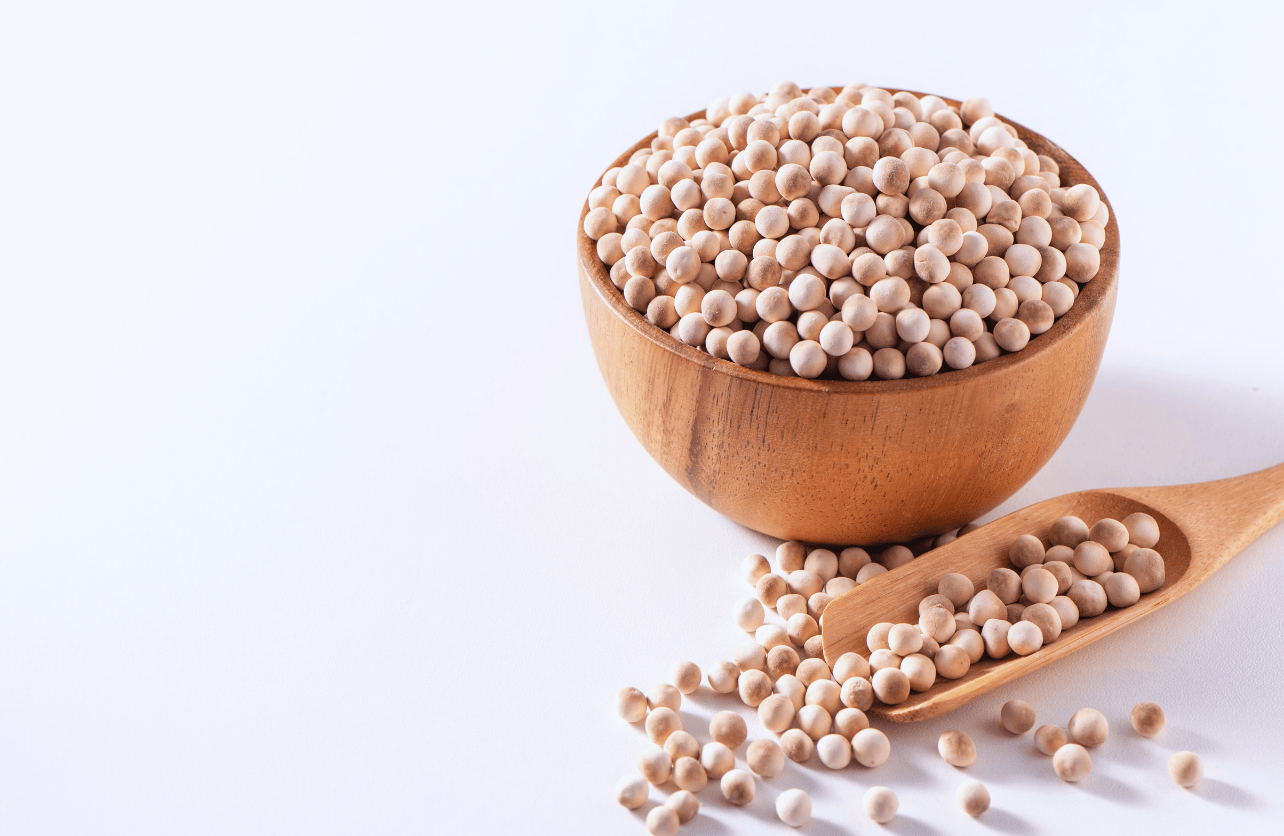
- Tapioca pearls (the black or golden kind used for bubble tea, not the small ones used for pudding)
- Water (at least 10 cups per ½ cup of pearls)
- A large pot (to give the pearls room to move around)
- A slotted spoon (for stirring and scooping)
- Ice water (optional, for extra chewiness)
- Sugar or honey (for sweetening the pearls)
Step 1: Boil the Water
The first mistake most people make is not using enough water. Tapioca pearls need plenty of space to cook evenly, so for every ½ cup of pearls, bring at least 10 cups of water to a rolling boil in a large pot. If you skimp on water, the pearls will clump together and cook unevenly.
Step 2: Add the Tapioca Pearls
Once the water is at a full boil, carefully add the tapioca pearls. They should start floating to the surface within the first minute or two—this is a good sign that they’re cooking properly. Give them a gentle stir to prevent them from sticking together.
Step 3: Cook and Simmer
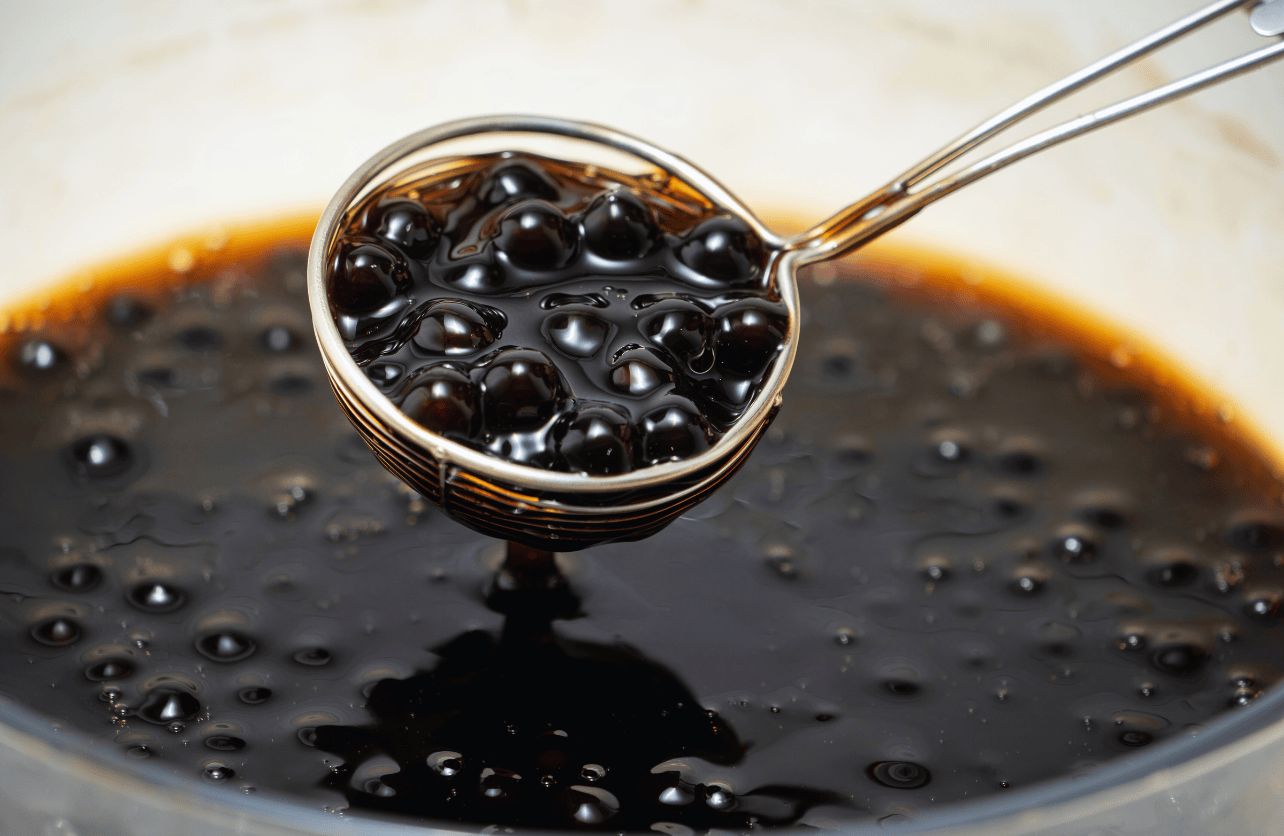
Once the pearls are floating, reduce the heat to medium and let them simmer uncovered for about 30 minutes. Stir occasionally to keep them from clumping. If the pearls still have an opaque center after this time, let them cook for another 5-10 minutes.
Step 4: Rest and Rinse
After 30 minutes of cooking, remove the pot from heat, cover it, and let the pearls sit for another 30 minutes. This helps them absorb any remaining heat and finish cooking without turning mushy. Once they’re fully translucent, drain them and rinse under cold running water to stop the cooking process and remove excess starch.
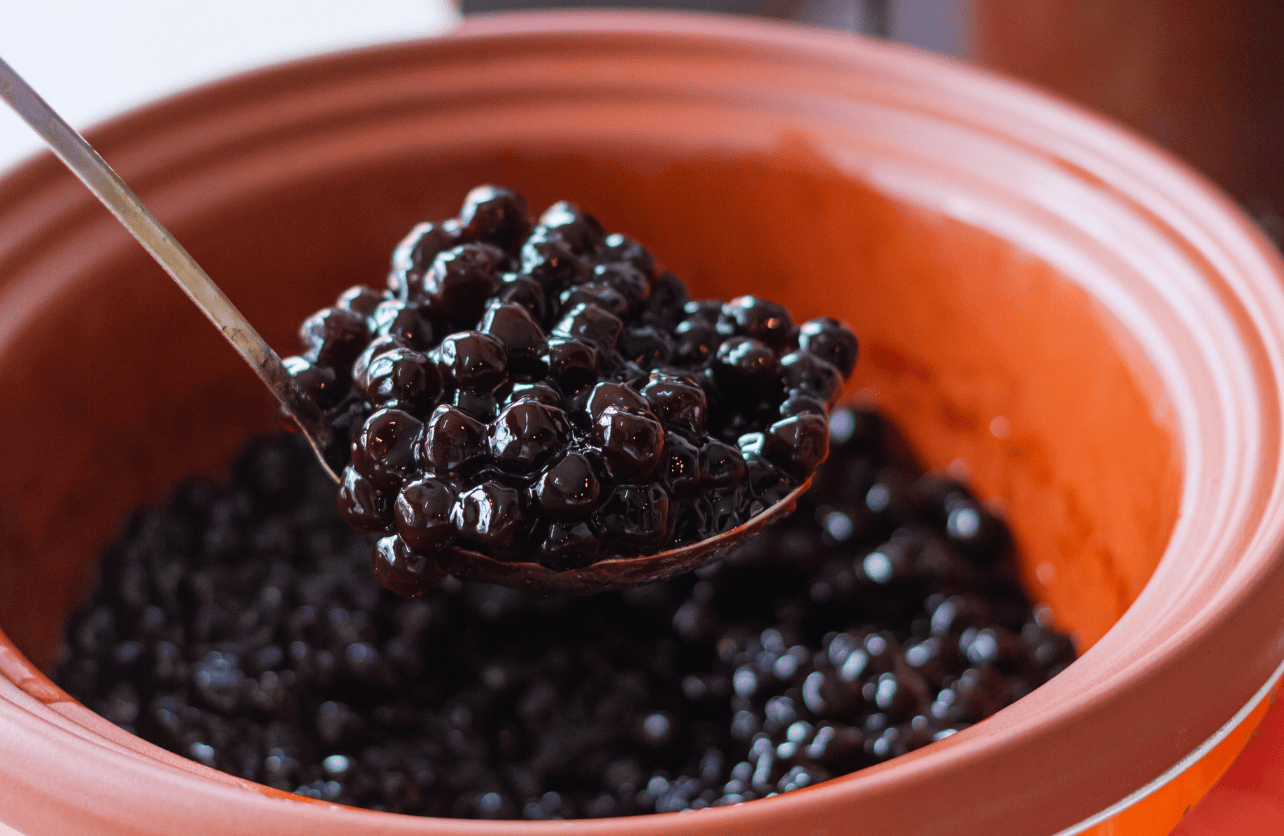
Step 5: Sweeten the Pearls
To give your tapioca pearls that classic bubble tea flavor, soak them in a simple syrup made of equal parts sugar and water, or drizzle them with honey. Let them sit for at least 10 minutes to absorb the sweetness before adding them to your drink.
Tips for Perfect Boba
- Cooking times may vary depending on the brand and size of your tapioca pearls. Always check the package instructions as a reference.
- If the pearls harden over time, don’t panic—reheating them in a bit of hot water can help restore some of their chewiness.
- Use them fresh. Tapioca pearls are best enjoyed within a few hours. If left too long, they’ll start to harden and lose their signature texture.
Enjoy Your Homemade Bubble Tea
Now that you have perfectly cooked tapioca pearls, you can add them to your favorite bubble tea, milk tea, or even desserts. Just scoop them into a glass, pour your drink of choice over them, and enjoy with a wide straw. Once you get the technique down, you might never need to buy boba from a shop again!
Our Recipe for Trust: Why Choose Kitchen Institute
At the Kitchen Institute, we're dedicated to providing reliable and accurate information on cooking trends, tips, and product reviews. Our team of passionate food enthusiasts ensures that every piece of content is thoroughly researched and based on real-world experience. We pride ourselves on our comprehensive and unbiased product reviews, rigorous research processes, and commitment to staying current with the latest culinary innovations. Trust us to enhance your culinary journey with quality insights and practical advice.